Friday, June 2, 2017

Personalized End of Year Teacher Gift with the Silhouette Cameo

My oldest son is moving on from our preschool, and I'm not just sad that he's growing up too fast (though he is), I'm also sad to see this perfect, happy chapter of his life end, where he was surrounded by a team of incredible teachers. A few of them have mentioned how they love how I monogram #allofthethings in R's backpack with vinyl, so I thought what better way to bring in the summer than with a personalized tumbler? A mason jar one, because they are so darn cute, and in teal because it's the best color ever. They can end the year sipping sangria out of that bad boy as they soak up sunny days with no preschoolers. To up the ante, I got together with a few of my girlfriends and fellow preschool mommies to stuff the cups with gift cards to Target and Dutch Bros. (our favorite local coffee drive thru), because Target and coffee are life.


So! How to do it? I bought the cups here on Amazon. I've actually been using this cup myself all day every day for two years now. Mine is monogrammed with my initials in vinyl, and it has held up pretty well! I throw it in the dishwasher about once a week (don't judge), and the vinyl has stayed in place with no problem. The vinyl I use is the industry standard, Oracal 651 in glossy white. It holds up and wears way better than the Silhouette brand, in my opinion, and you'll want something that has a strong bond if it's going to go through the dishwasher. And all of the heart eyes for white on teal!

In my Silhouette Design Studio, I browsed my favorite fonts, and landed on a cute, chubby script called Cilantro Leaf by ScrapNFonts (note: this one is personal use only!)


I wanted it to say the teachers' names as the kids call them, "Teacher Jaime," for example. After playing around with the sizing and measuring the cups, I decided four inches was going to be as wide as I could make the lettering. I sized each name a little differently since some were longer (Stephanie) and others were shorter (Dana), and I wanted the names to cover the space without wrapping too far around. The word Teacher ended up being smaller, placed either left, center, or right on top of the first name depending on what looked best. Last step was to weld the names so the font flowed together like a script, then squish them all together onto one 12"x12" sheet to cut all at once. Wait! One more step. Create a box around each name so you can weed each one separately!


As for cut settings, I set my material in Design Studio to "Vinyl - Silhouette Brand," and it called for setting my blade to level 1. But with Oracal brand vinyl, I find that it's a bit thicker, and a 2 is perfect. I used my premium cut blade (because it lasts 10x longer than the aptly named ratchet blade!), and set it to cut level 2. Even knowing these settings, I did a quick test cut in the upper left hand corner just to be sure. The test piece pulled up beautifully (clean cut vinyl, no backing cut). Hit "Send to Silhouette" and wait for your goodies to emerge!


I sat under some good lighting and weeded out the names, slapped some transfer tape onto the whole sheet, and cut each cup's lettering out. Peel that transfer tape back diagonally, making sure all the little dots on all the i's stick with their mamas. Time to line it up. This part is intimidating! Once that Oracal 651 is on, it is ON! No replacing and moving around. Gotta get it right the first time. My trick is to cradle the cup in my lap between my legs with the cup's straw sitting straight up and down in the cup. Using two hands, I center the vinyl on the straw, say a prayer, and stick it on. I use my scraper tool to seal it, and pull the transfer tape off diagonally, taking care that all pieces stick to the cup. Run my hand over it to make sure it's all in the place, and we're done!


I put some tissue paper in each cup to prop up the gift cards, and we got all the kiddos to sign their names on a card that was tucked in there as well. In the end, the cups cost about $5.00 each to make. 


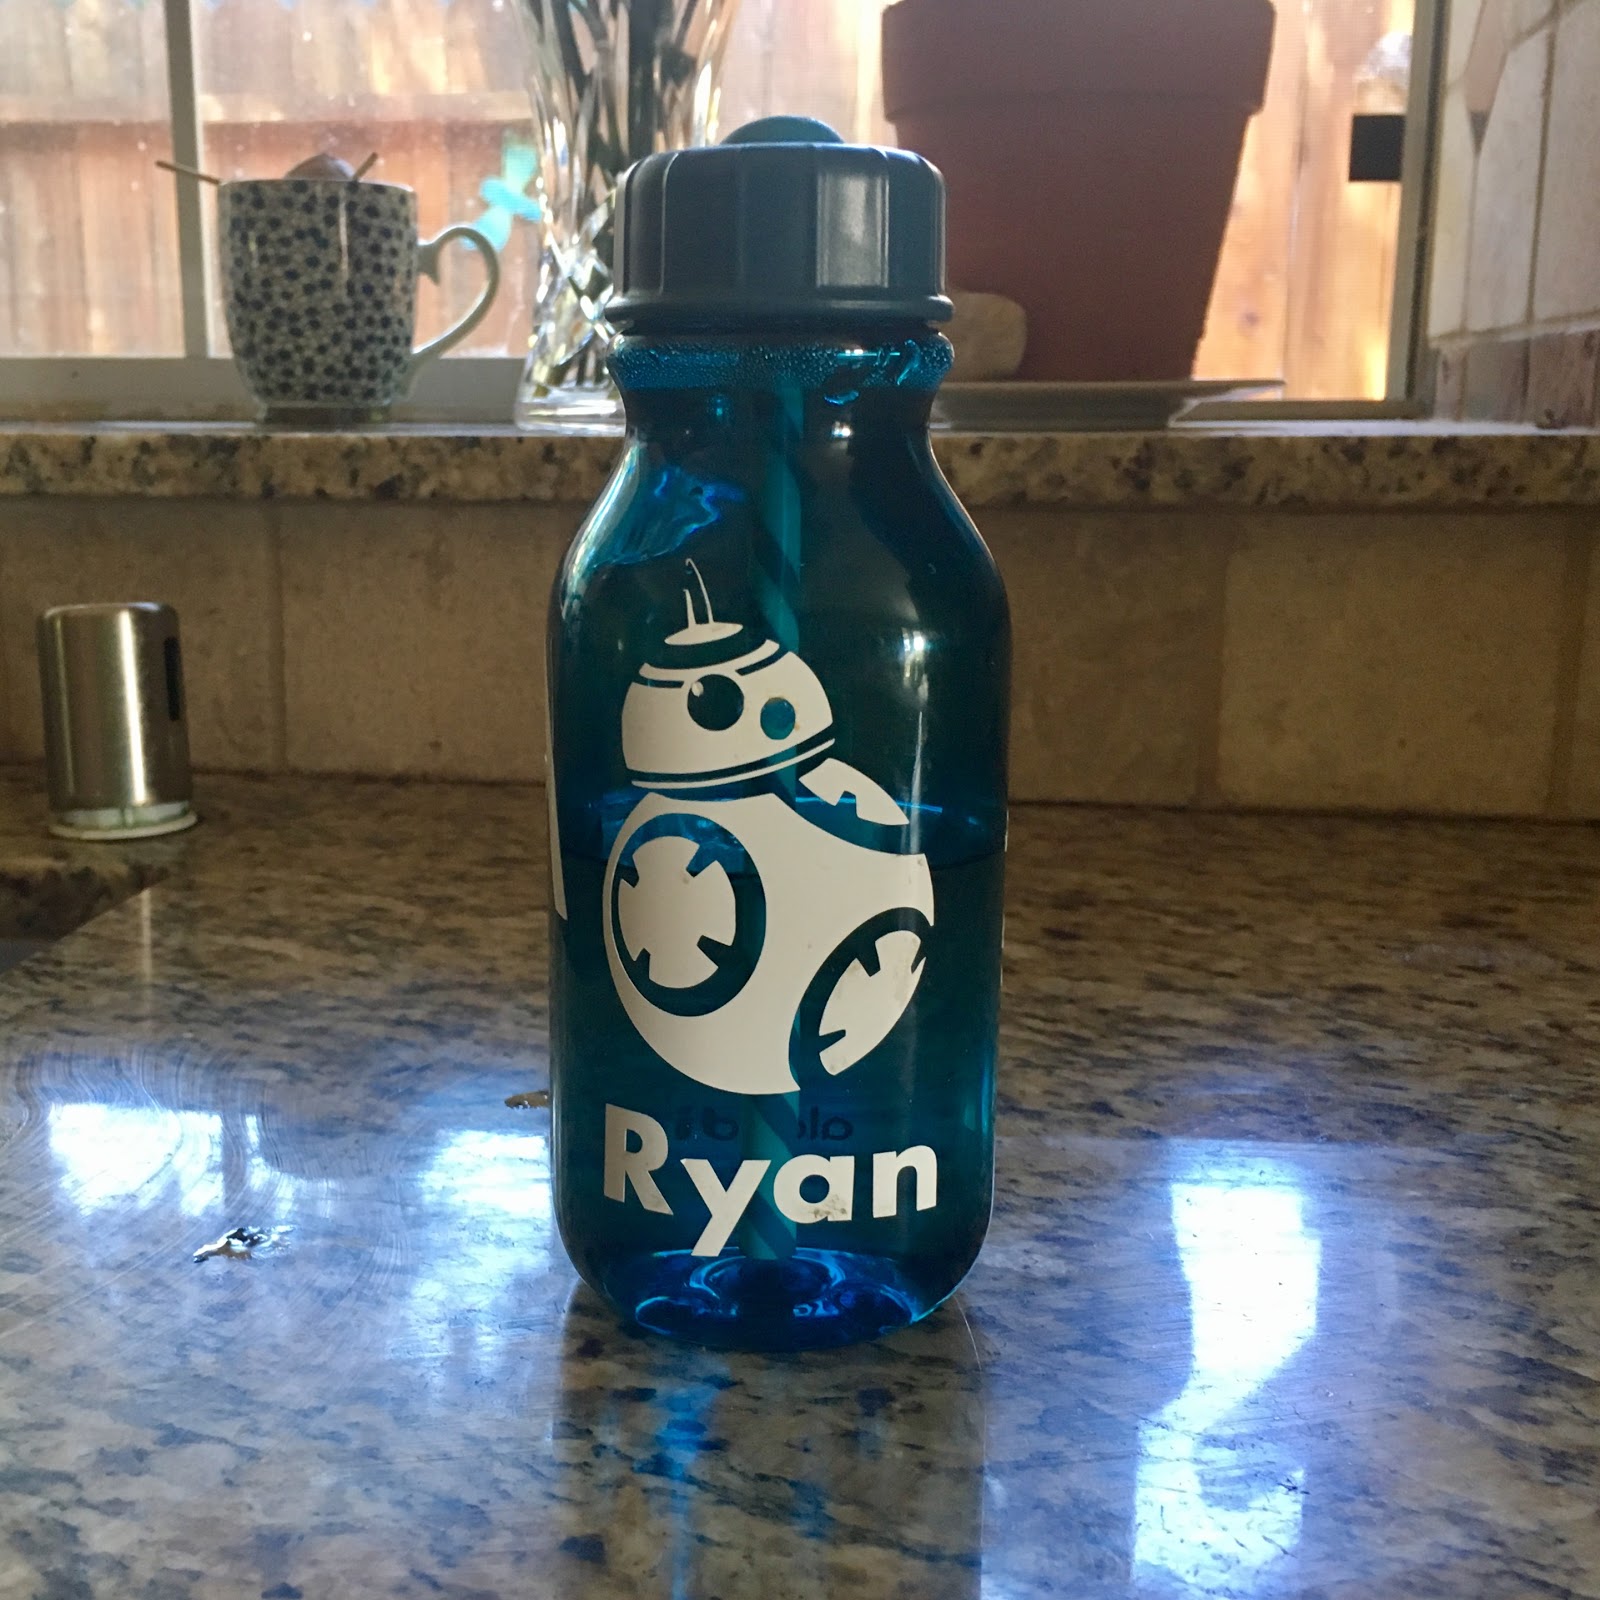
While I was at it, I also helped R design a new vinyl sticker for his water bottle, too, since he feels like four years old is too big for Mickey Mouse. On to a Star Wars theme for my big boy!  


Happy crafting!
Rox

Monday, February 6, 2017

Silhouette Banner Tutorial with a Layering Hack!

So last week I hosted a baby "sprinkle" for a friend who is expecting number two in a few weeks. It was the perfect chance to break out the Silhouette and get crafty! Helen's nursery colors are neutrals - yellows and grays with some zoo animals - so I wanted to make a cute banner that she could take home. Check out the final product! Details on how to make it (with less paper than you think) below. 


I had a banner in mind with that layered look: a solid background with a border, circles, then letters on top. All in all, it looked like I would need about 6 sheets of gray and 6 sheets of pale yellow paper to execute. Time to check the stash: Only 4 sheets of yellow and 3 sheets of gray?? I live only a mile from Michael's, but with sick kiddos and only a day to prepare after returning from a family vacation, I had to use what I had. Enter my layering hack.

I opened up my Silhouette Studio program and figured out how to squish four pennants onto one sheet of 12"x12" paper for my gray background with a little space to spare. Then, I cut and pasted them into a new document and used the Offset feature to create the yellow background pennants (with a curved border), about 1/4" bigger than the gray. Finally, I created a circle, then added the letters to the gray pennants, and used the Subtract feature to cut the circle out of the gray, so the yellow would come through when I layered the paper. Get it?? I never had to cut extra yellow circles AND extra gray letters! Less actual layering of paper if you look at the banner closely, but I saved a bunch of paper that way. You're welcome, Mother Nature!


Time to cut! Whenever I cut cardstock, I always use the Double Cut feature so that I get a clean cut. And with no extra paper to spare, I couldn't take any chances! Luckily, everything cut like a dream, and I was able to line it up and glue it all together with my handy Scotch Glue Dots dispenser. Seriously, if you don't have one of these guys you are missing out! So much easier than glue (and less messy! Hello!). But can you see that layering hack? Totally looks like I cut out yellow circles, but nope! So sneaky...


After punching two holes in the top of each pennant about a 1/4" from the top, I strung some white string through the whole thing, and it was done! 


I also did some animal cut outs for the end pieces. The great thing about cutting them out of the gray pennants was that I was left with animal cut outs to use on a few other projects. Add in the few scraps I had left, and I was able to pull off some coordinating signs and items to round out the look. I just love using picture frames to easily display signs for parties. It really makes them look so much better. I literally taped this sign on top of a fancy silver frame. 

I had a few pennants left over from an Easter project from last year, so I put them to use for a second banner with the leftover animal cutouts.


Lastly, I designed this framed sign on the Silhouette, and just printed it out instead of cutting. Mostly because I was out of colored paper at this point. 


 Helen's Baby Sprinkle was a success! Can't wait to meet her baby boy. 


Wednesday, December 14, 2016

Craft Night! Christmas Card Hanger DYI

So one of the very first things I ever pinned on Pinterest was an idea from Craftfabulous.com. The idea was not only to make a super cute Christmas Card hanger, but to make them with your girlfriends at a craft party!

Genius. I love crafts, especially practical ones, and inviting over the girls for the holidays made it sound even better! Fast forward, like, five years, and I finally made it happen.

A few friends have been asking for the directions on how to make these, but the original link isn't working anymore! So I'm rewriting the directions here, changing a few things according to how we ended up doing it. Here's our version:


Cute, right? Each mama brought $10 to chip in for supplies (okay, okay, I went a little overboard and spent closer to $16 per person - oops!). Add in some spiked hot apple cider and a few snacks and we had ourselves a little party! Directions for the group are below. I tried to add links to the items where I could so you could see what I was talking about (no affiliate links here; I'm not that fancy yet!). Happy crafting!

Materials for each board:
- 24"x7" wooden board (I got mine cut from common pine boards at Home Depot which came in 6', 8, 10' and 12' lengths, and a worker there cut them for me!). I sanded them down a bit on the edges since the cut left some splintery pieces hanging off.
- Craft paint 
- Foam paint brush
- Adhesive-backed vinyl cut to say "Season's Greetings" or whatever you like (I cut ours on my Silhouette Cameo, but you can also custom order them on Etsy!). I also added family names for a little surprise since I accidentally bought boards that were 7" wide instead of the intended  5" and we had some extra space.
- Mini daubers (these little painting tools make perfect circles!)
- 18" of twine or strong string/ribbon
- 5 yards of ribbon
- Hot glue or tacky glue

Instructions:
1. Paint the background color on your board. I had green, red, white, silver, and gold to choose from as well as a bunch of random colors from old crafts.
2. Eat, drink, and be merry! For about 20 minutes while you let the paint dry, at least ;) 
3. Peel the backing off your vinyl and slap that sucker on the board. Give it a good swipe with the side of a credit card or your hand to help it stick, and then peel the transfer tape off. Tada!
4. Now comes the fun part. Decorate! I had us put the vinyl on before the decorating so that we didn't have to worry about placement afterwards. Most of us used these little dauber tools to stamp circles in different colors using the craft paint, based on our inspiration photo. Pro tip: load the daubers up with lots of paint to get pretty, smooth circles.
5. More waiting, more drinking, more merriment while you wait for that paint to dry! See? Fun!!
6. Screw the eye hooks into the top of the board, about 12" apart, and string the twine through  them to create a hanger. I used my trusty drill to make a few holes first, but a few of the girls just screwed the eye hooks in bare-handed. I have some strong mama friends!
7. Pick out your ribbons and cut five pieces, about a yard each. Glue them to the back of the board so they hang down. Attach the mini clothespins to add your Christmas cards and you are good to go!

The best part was that with 12 women and access to the same materials, no two boards looked the same! Natalie and Kelsey stained their boards and later added hooks to hang little flip books of Christmas cards from years past. Erin painted Christmas trees on hers and hung it up as a sign above her kitchen sink instead of adding ribbons. The possibilities are endless!