
If you're new to painting furniture, I've got all my tips and tricks below. I even tested out a new chalk paint and loved the results.
Read on for all the details on all the best techniques for a lasting finish and some #affliatelinks to all my favorite products!
Five years ago, we moved into our current forever home after years of peripatetic military life. This house has this ADORABLE bright and airy breakfast nook that looks out to the backyard where the sun rise over the trees. It was begging for the perfectly sized round table and chairs. Enter: my first furniture painting project for this house! I found a 1980s oak table and arrowback chairs on Craigslist for $75 and spent more than that on paint and materials to transform the set into my new love: a dark stained tabletop with a white apron and base with matching chairs. LOVE!
 |
| The OG - my first repainted table and chair set |
Since then, I've learned LOTS about painting furniture. It was brave of me to start my painting journey with a kitchen table and chairs with toddlers - the most used pieces of furniture in the house! I've since painted five Craigslist finds to add to our home, including a bedroom set for my older son, a dresser, and a china cabinet. I have lots of insight into stripping, staining, priming, the best paints to use, paint additives, the best brushes, and the low down on all the different ways to seal a piece.
Fast forward a few years, and the paint is peeling up on my kitchen chairs from constant scrubbing (see below for my mistakes!), and we're realizing the 42" table top is just a tad small for the space. Also, those arrowback chairs that somehow were solid when I brought them home were falling apart (have I mentioned I have two little monkeys - I mean - boys, who love to stand on the chairs and shake the life out of the backs?). We took a look at new tables, but the tree-hugger in me knew that there were soooo many of these solid round tables out there just begging for new life. Plus: the monkeys. I didn't want to spend the next twenty years cringing every time my kids stabbed a fork into a brand new table or dragged a $300 chair over to the pantry to reach a snack.
 |
| Mistake #1 on old table/chairs: I used regular joint compound (meant for drywall) instead of wood filler to fill in cracks on the chairs - AFTER I had sanded and primed the piece, and AFTER a coat of paint. So, naturally after toddler paws have put lots of sticky stuff on these chair backs and I have scrubbed them, the paint is literally peeling up and never quite cured to a nice hard enamel like on the table's pedestal. |
 |
| Mistake #2 on old table/chairs: I didn't tape off the table apron or undersides of chairs between painted and stained surfaces. No one sees this but me (and my kids when they are crawling around under the table), but it looks sloppy and only would have taken an extra 30 minutes and $3 in tape to prevent from the get-go. |
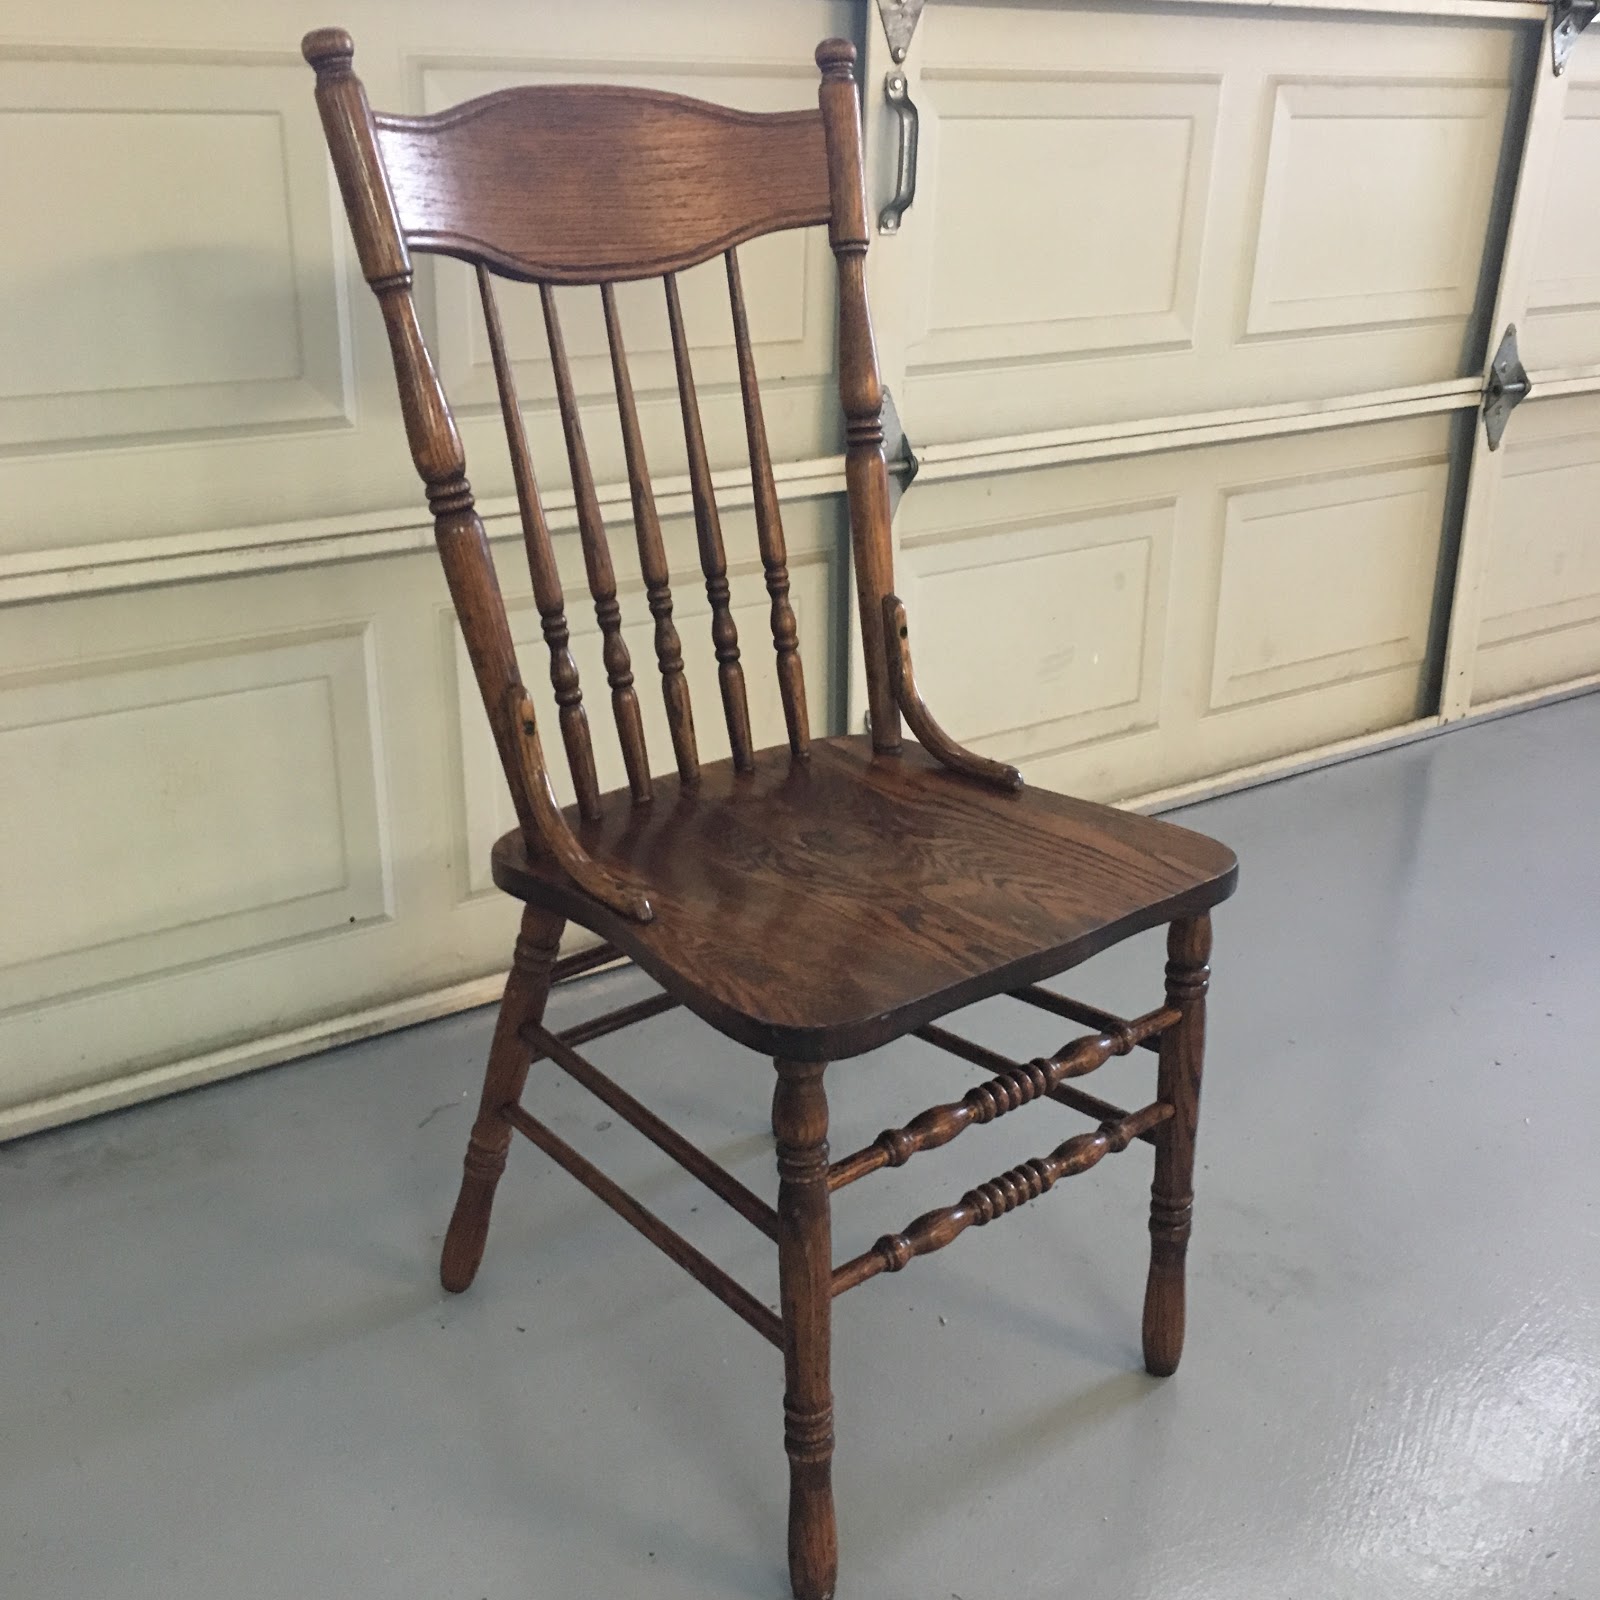
Back to Craigslist, and I found *the one*. A 48" solid oak table that looked like she was from the 80s with matching country style chairs for $120. I can't buy one new chair for $120! Sold. I named her Gloria, and brought her home and scrubbed her down.

I had the same plans for this set as I had for my first table and chairs set: a dark stained top and white trim, base, and apron. But as I cleaned the table, I realized the top and seats were already a darker color oak and were in pretty good shape. I decided to forgo restaining the table top and chair seats. Plus, my kitchen cabinets are the same oak color, so it works in my space.
Still with me? Sweet. Below, I'm breaking down all the steps for prepping the piece, painting it, and sealing it. If this is #TLDR for you, keep two things in mind:
1. Don't cut corners 2. This is not a one weekend project.
1. First thing I did was take a bucket of warm water with a few drops of Dawn dishsoap, a non-scratch scrubbing sponge, and scrubbed the table and chairs top to bottom.
I know, I know, "But it's wood! You can't get it wet!" Not true. A scrub down with soap and water is fine, as long as you rinse it away with a clean damp sponge or towel, and dry it down. I would NOT soak it, spray it, or otherwise wash it. It needs to be scrubbed and wiped, not bathed. As a kitchen table, it took a lot of use, and there was lots of grease on there! And yes, I even scrubbed the underside of the table.
2. After it was nice and dry, I used painter's tape and newspaper to tape off the areas that I did not want to paint (the table top and chair seats).
On my last piece, I wasn't super careful with painting the apron of the table, and if you look underneath the tabletop edges, it looks sloppy. This bothers me (and probably only me), so this time I took the extra time to tape it off. My kids LOVE tape, so they had fun taping everything else in my work space as we went.

3. Time to sand! I know there are lots of Pinterest tips and tricks for no sanding miracles, but forget that. This is your kitchen table!
That paint needs to STICK! and it is not going to stick (permanently, anyway) to a glossy surface. Plus, this is your chance to get very intimate with your piece and see every nook and cranny. Get that wood grain nice and smooth and find any tiny knicks or scratches that will need filling. No need to sand to bare wood if unless you'll be restaining, but you need to sand away the gloss on every inch, especially the nooks that are super dark (AKA greasy from kitchen life). Wearing a face mask and eye protection, I used 80 grit 3M sandpaper on an electric palm sander for the larger sections and then went over all the tough to get places with 80 and 120 grit by hand. Those claw feet and spindles were tough to sand with all their crevices, but folding the sandpaper over a sanding sponge makes it easier to get in there. This took a solid three hours of work, but I know it will be worth the effort. Each time I took a break, I vacuumed up the dust and wiped the piece clean with a damp cloth so I could clearly see what still needed sanding. 


4. Fill in any holes or chips with wood putty. DO NOT USE ANYTHING ELSE! I made the mistake of using a drywall filler to fill cracks in my kitchen chairs, and it did not work long term.
Because it was what I had in my painting drawer at the time, and I didn't feel like making a-noth-er trip to Home Depot that day. It dries fine and the paint goes over it fine, but it is soft and will dent easily, and the paint will easily scrub right off of the areas where the filler went. This time, I took the extra step of buying a small tub of $3 Minwax Wood Putty in Golden Oak and filled in any cracks and holes. Wait for it to dry and sand it down to the surface of the piece.
5. Use a tack cloth or other lint free cloth (I find damp tshirt rags are fine) to wipe the piece clean of all debris and dust.

6. Yes, we're still prepping. Time to prime your paint surface!
"But my paint says no primer necessary!" "I'm going to use chalk paint, I don't need to prime!" "Pinterest told me priming is a waste of time!" Lies, lies, lies. Don't skip it, especially if you will be painting your piece white. Also, primer is way cheaper than your expensive chalk paint or high quality enamel paint, so why waste the good stuff on that first coat? Use a good quality, stain-blocking primer, like Kilz Multi-Surface Stainblocker Latex Primer and Sealer. Paint it on in thin layers using a good quality brush (I have an angled Purdy that has lasted me many years and many projects). Once it is dried, go back and lightly sand it smooth using 150 grit sandpaper. Go back with a tackcloth or lint-free damp cloth to remove the dust.


7. Here comes the best part! Time to paint!
Now I usually used Sherwin Williams ProClassic paint for furniture since it has a beautiful satin finish and dries to a hard enamel. It has held up beautifully on other pieces, but it just did not work well on my table and chairs from a few years ago. I with all the spindles and detail work on this table and chair set, I knew I wanted a thicker paint that is more forgiving and less likely to DRIP. So, I tried our Rustoleum Chalked paint in Linen White and I am so happy with the results! I also used this brush that I got from Amazon which was definitely worth the splurge (and the savings, considering that the Annie Sloan version is like $50+??). It gave even coverage and made quick work of getting into all the crevices and spindles. The best part was that it sanded smooth like butter! You can even use a wet rag to smooth the paint out to an even smoother finish to get those paint strokes out. Can't do that with latex. Since I went with white, that means less pigment, which often means more coats of paint. I ended up doing only one full coat and one round of touch ups after that before I was done One coat looked great if you're wanting more of the wood grain and texture to show through after sanding smooth, but I was going for full coverage. This quart of paint was more than enough for the whole project!

 |
| This is the first coat of chalk paint over the primer. Great, even, smooth coverage with the first coat! I'm sold! |
8. Now let's smooth this baby out with some... WATER!!!
So, here's the "chalk-painty" thing that I'm seeing all over the place: beautifully paint a piece and then hack it to death with rough sand paper to get an aged patina. Look, I don't buy jeans with holes in them, and I'm certainly not going to "age" my perfectly new looking table and chair set. That said, the chalk paint does dry with lots of brush marks and texture to it. The great thing about this paint is you can sand it perfectly smooth and the paint just powders away! To anyone else who has tried in vain to sand out brush marks or paint drips from latex paint, this will be amazing news. But I have a secret for you that does not involve a storm of paint dust: a wet rag! Because chalk paint is water soluble and has plaster of Paris in it, it is not self sealing like latex paint. This means applying a damp sponge or lint-free rag with a little pressure will rewet the paint just enough to completely smooth it out with no mess. I'm in love! If you want it to look a little more rustic, feel free to sand or sponge farther down along the edges to get some wood showing through. I'm confident that my family will age this piece just fine for me over time without my having to do the work.
9. Here's where I went wrong: I tried to seal the painted parts with Minwax Polycrylic... and it YELLOWED!
Like, within 15 minutes, in all spots where there was more than the thinnest of thin coats of this stuff. And I did all four chairs and the table base before I realized it. *cue tears* So, while I have used this product before and usually love it (gel-like consistency that doesn't drip, durable finish), I would not recommend this for sealing anything white! Even though I primed first, the tannins from the dark wood pulled through to the surface. Ugh... so, I had to sand it a bit down in the yellowed spots and repaint with the chalk paint, then go back over it with chalk paint wax, which I realllly didn't want to do. You have to reapply this stuff every six months? No fun. BUT, although I was not wanting to wax originally, I have to say that it looks way better with the wax than with the polycrylic! Crisis averted, although it definitely added another few days to the process. I used Annie Sloan clear furniture wax, and while it was intimidating at first, the owners over at my local supplier and favorite little boutique shop, Re-Find Living, showed me exactly how to use it. Wax on, wax off, two coats, and come back a day later to buff. They even sold me these Wyp-All disposable lint-free cloths to do the wax work so I didn't have to buy a pricey wax brush. And check out the difference between the chair with chunky yellowed polycrylic and the perfection of the waxed chair. No brainer.
10. WAIT. Again with the waiting. Look, you want a finished table that will last more than a year?
It feels dry, but don't be fooled. Don't let your minions spill their snacks and finger paint on this thing until you wait a few days for the wax to cure to a hard finish.

Sheesh, I can't believe you read all of this. This post either A) scared the bejezus out of you and made you rethink your Craiglist flipping dreams, B) made you laugh at my plight as you placed an online order for a new table and chair set from Wayfair.com, or C) made you think this work is totally doable and sounds super fun and CAN'T WAIT TO GET STARTED! If C is your answer, you are my people, and I'm here for all the questions. Now excuse me while I scour the Auburn Yard Sale Facebook page for another piece of furniture to flip!

